本文最后更新于:2026年1月25日 下午
前言
在上一章 Browser Extension Dev - 04. Background Script 中,我介绍了 Background Script 的概念和使用场景,并实现了一个自动休眠不活跃标签页的扩展。在本章,我将介绍如何在扩展中存储数据和配置选项,并提供一个配置页面来访问它。
Storage API(概念)
浏览器为扩展提供了 browser.storage API,允许存储 kv 数据,可以存储任何可以被结构化克隆的数据,通常而言对于扩展的配置功能足够了。除此之外,有时候还使用 localStorage(如果是 Content Script)或 indexeddb(简单的 kv 存储不足以满足需求时)来存储扩展的设置。
其中 browser.storage API 下有几个选项,它们的接口是一致的,只是存储的方式和行为有些不同
- storage.local: 本地持久化存储
- storage.sync: 在不同设备之间同步(有严重的局限性,仅限登录相同账号的相同浏览器,即便如此,Safari 也不支持同步)
- storage.session: 临时存储在内存中,不会持久化,浏览器关闭重启即消失
- storage.managed: 企业环境使用,通常扩展开发者完全不必关心
参考 Chrome 官方文档: https://developer.chrome.com/docs/extensions/reference/api/storage
配置页面(概念)
配置页面是浏览器为扩展提供的一个专用页面,允许在单独的页面中调整扩展的选项,或者访问扩展提供的功能。下面是两种配置页面的使用方式
直接使用浏览器内嵌页面访问,布局紧凑,适合配置项较少的情况,也是官方推荐的默认方式。
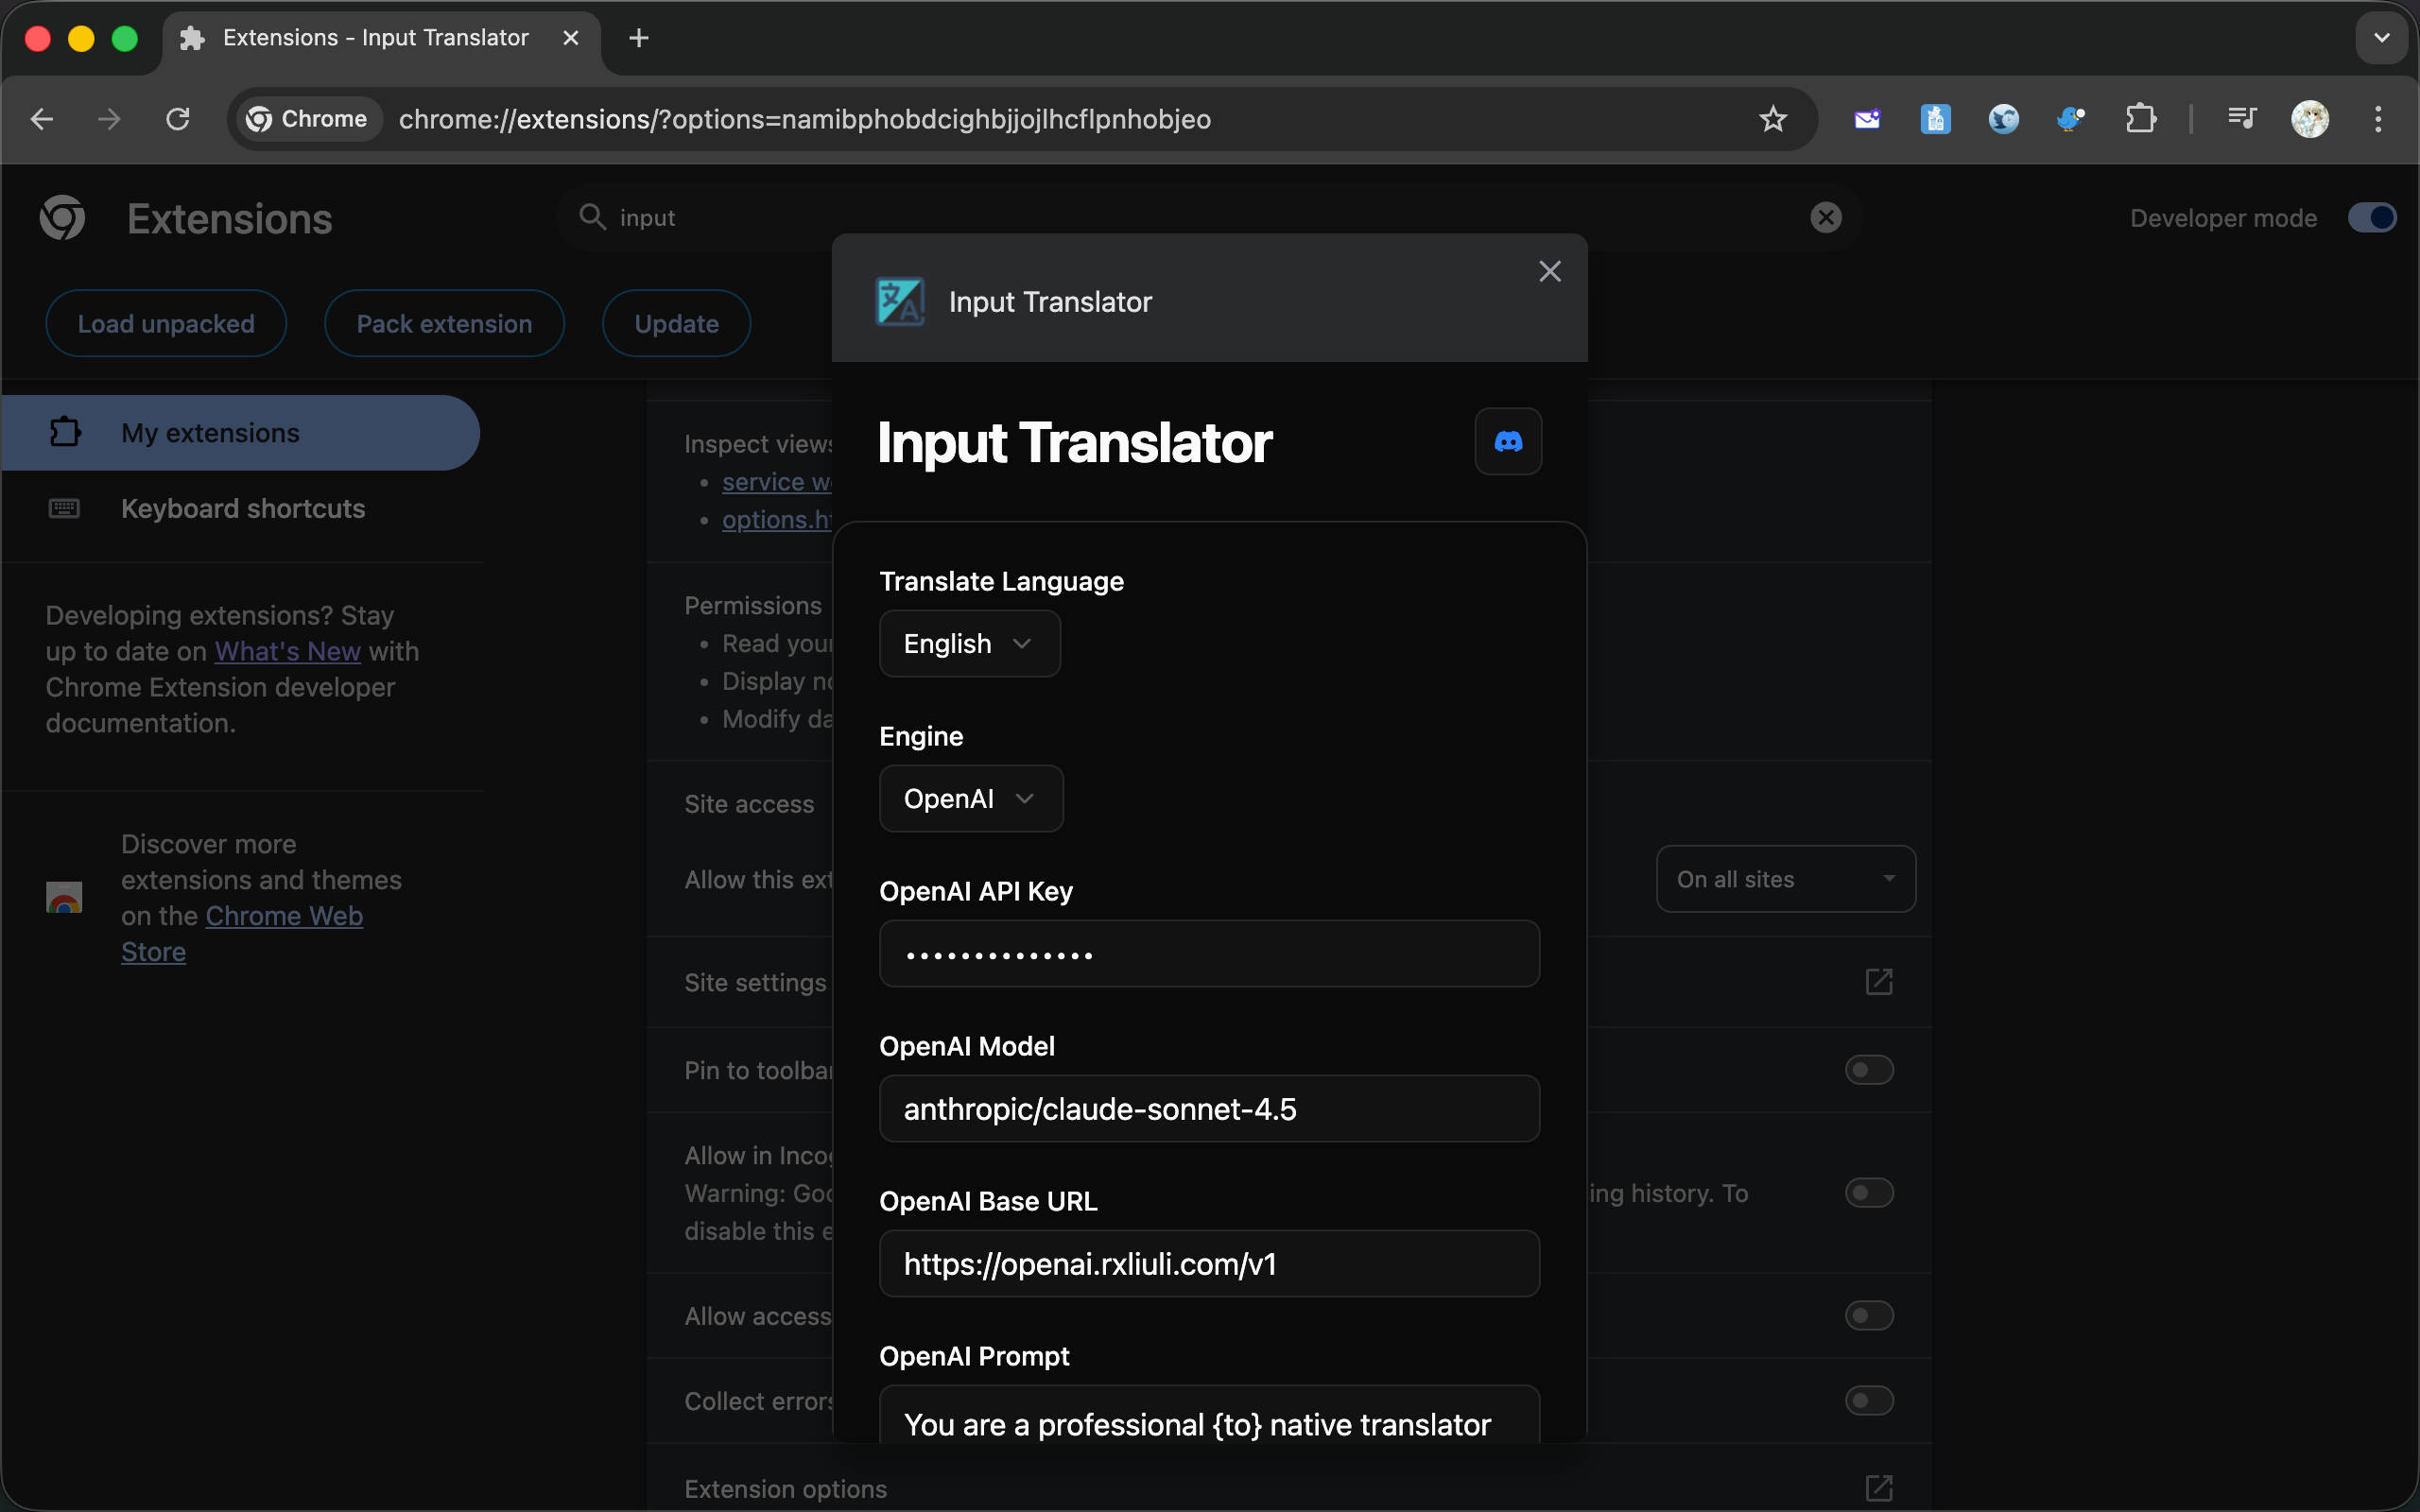
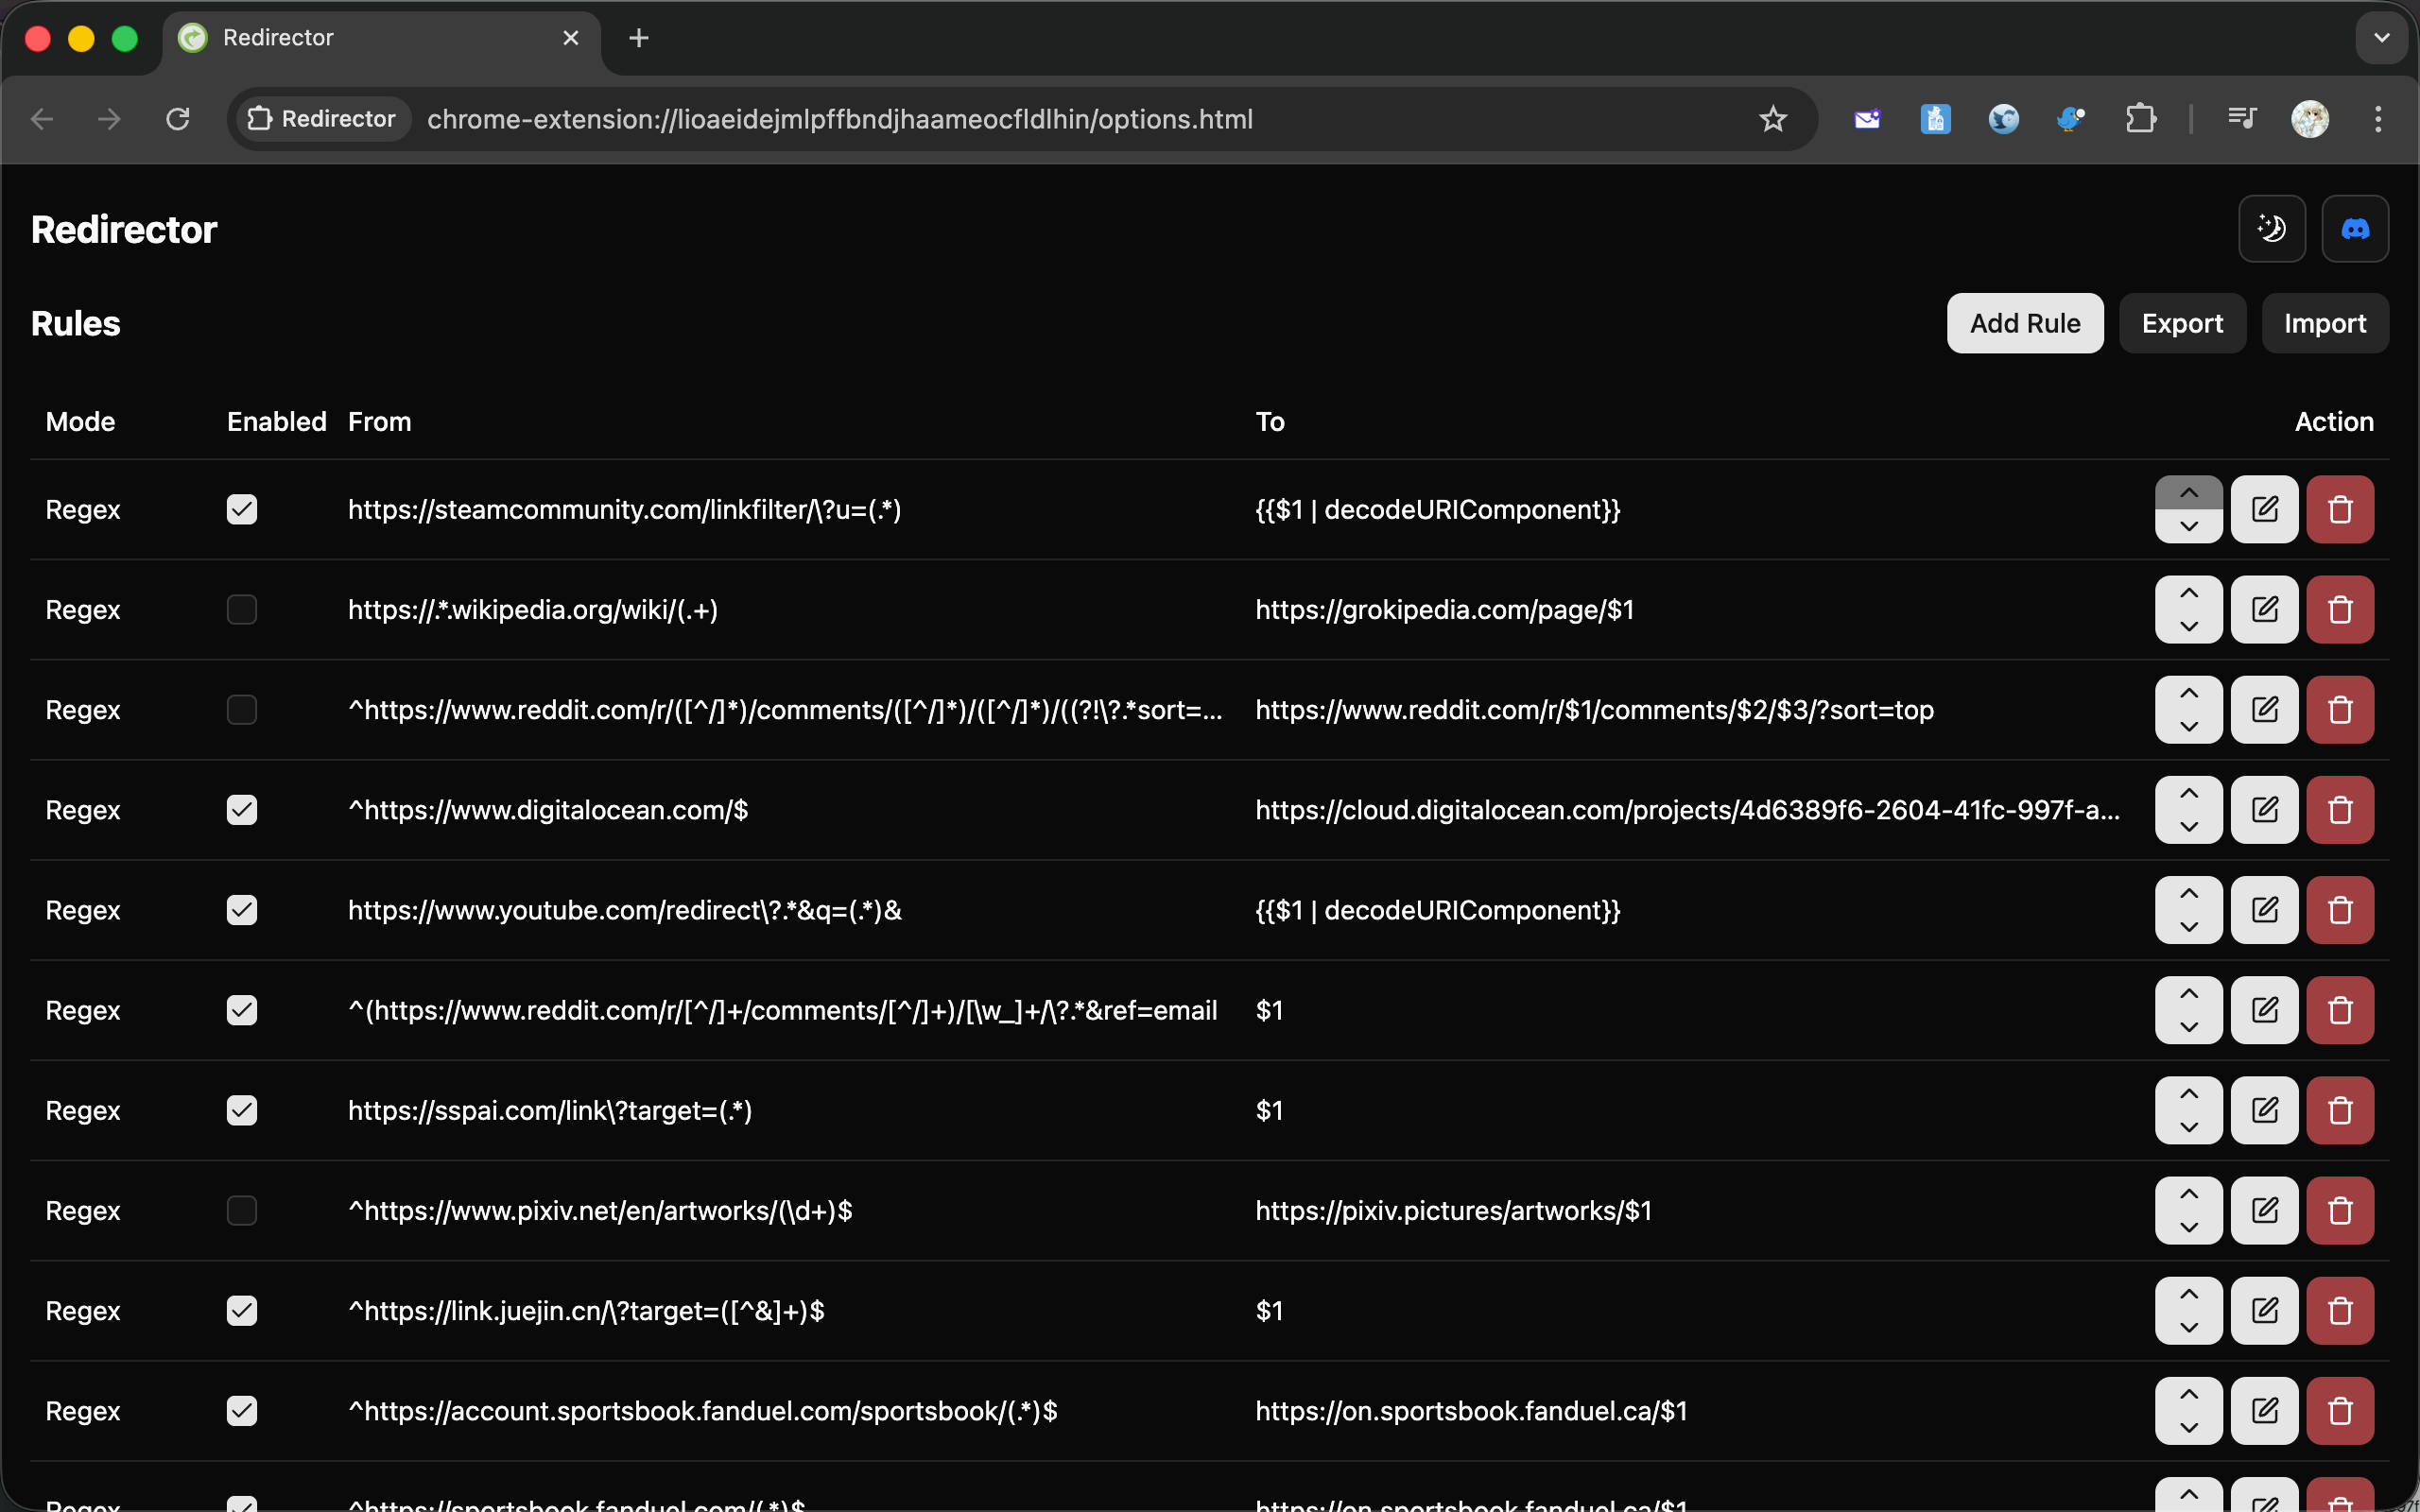
或者在独立标签页中打开,有更大的空间展示完整配置甚至功能,但需要额外配置或编写代码才能让用户方便地访问。
在 WXT 中,可以在 options.html 中添加 meta 标签来修改它,参考 https://wxt.dev/guide/essentials/entrypoints.html#options
1
| <meta name="manifest.open_in_tab" content="true|false" />
|
同时,也有两种方法可以访问扩展的配置页面
- 点击扩展的 More Options > Options 来打开
- 进入扩展的详情页面,然后查找 Extension options 按钮
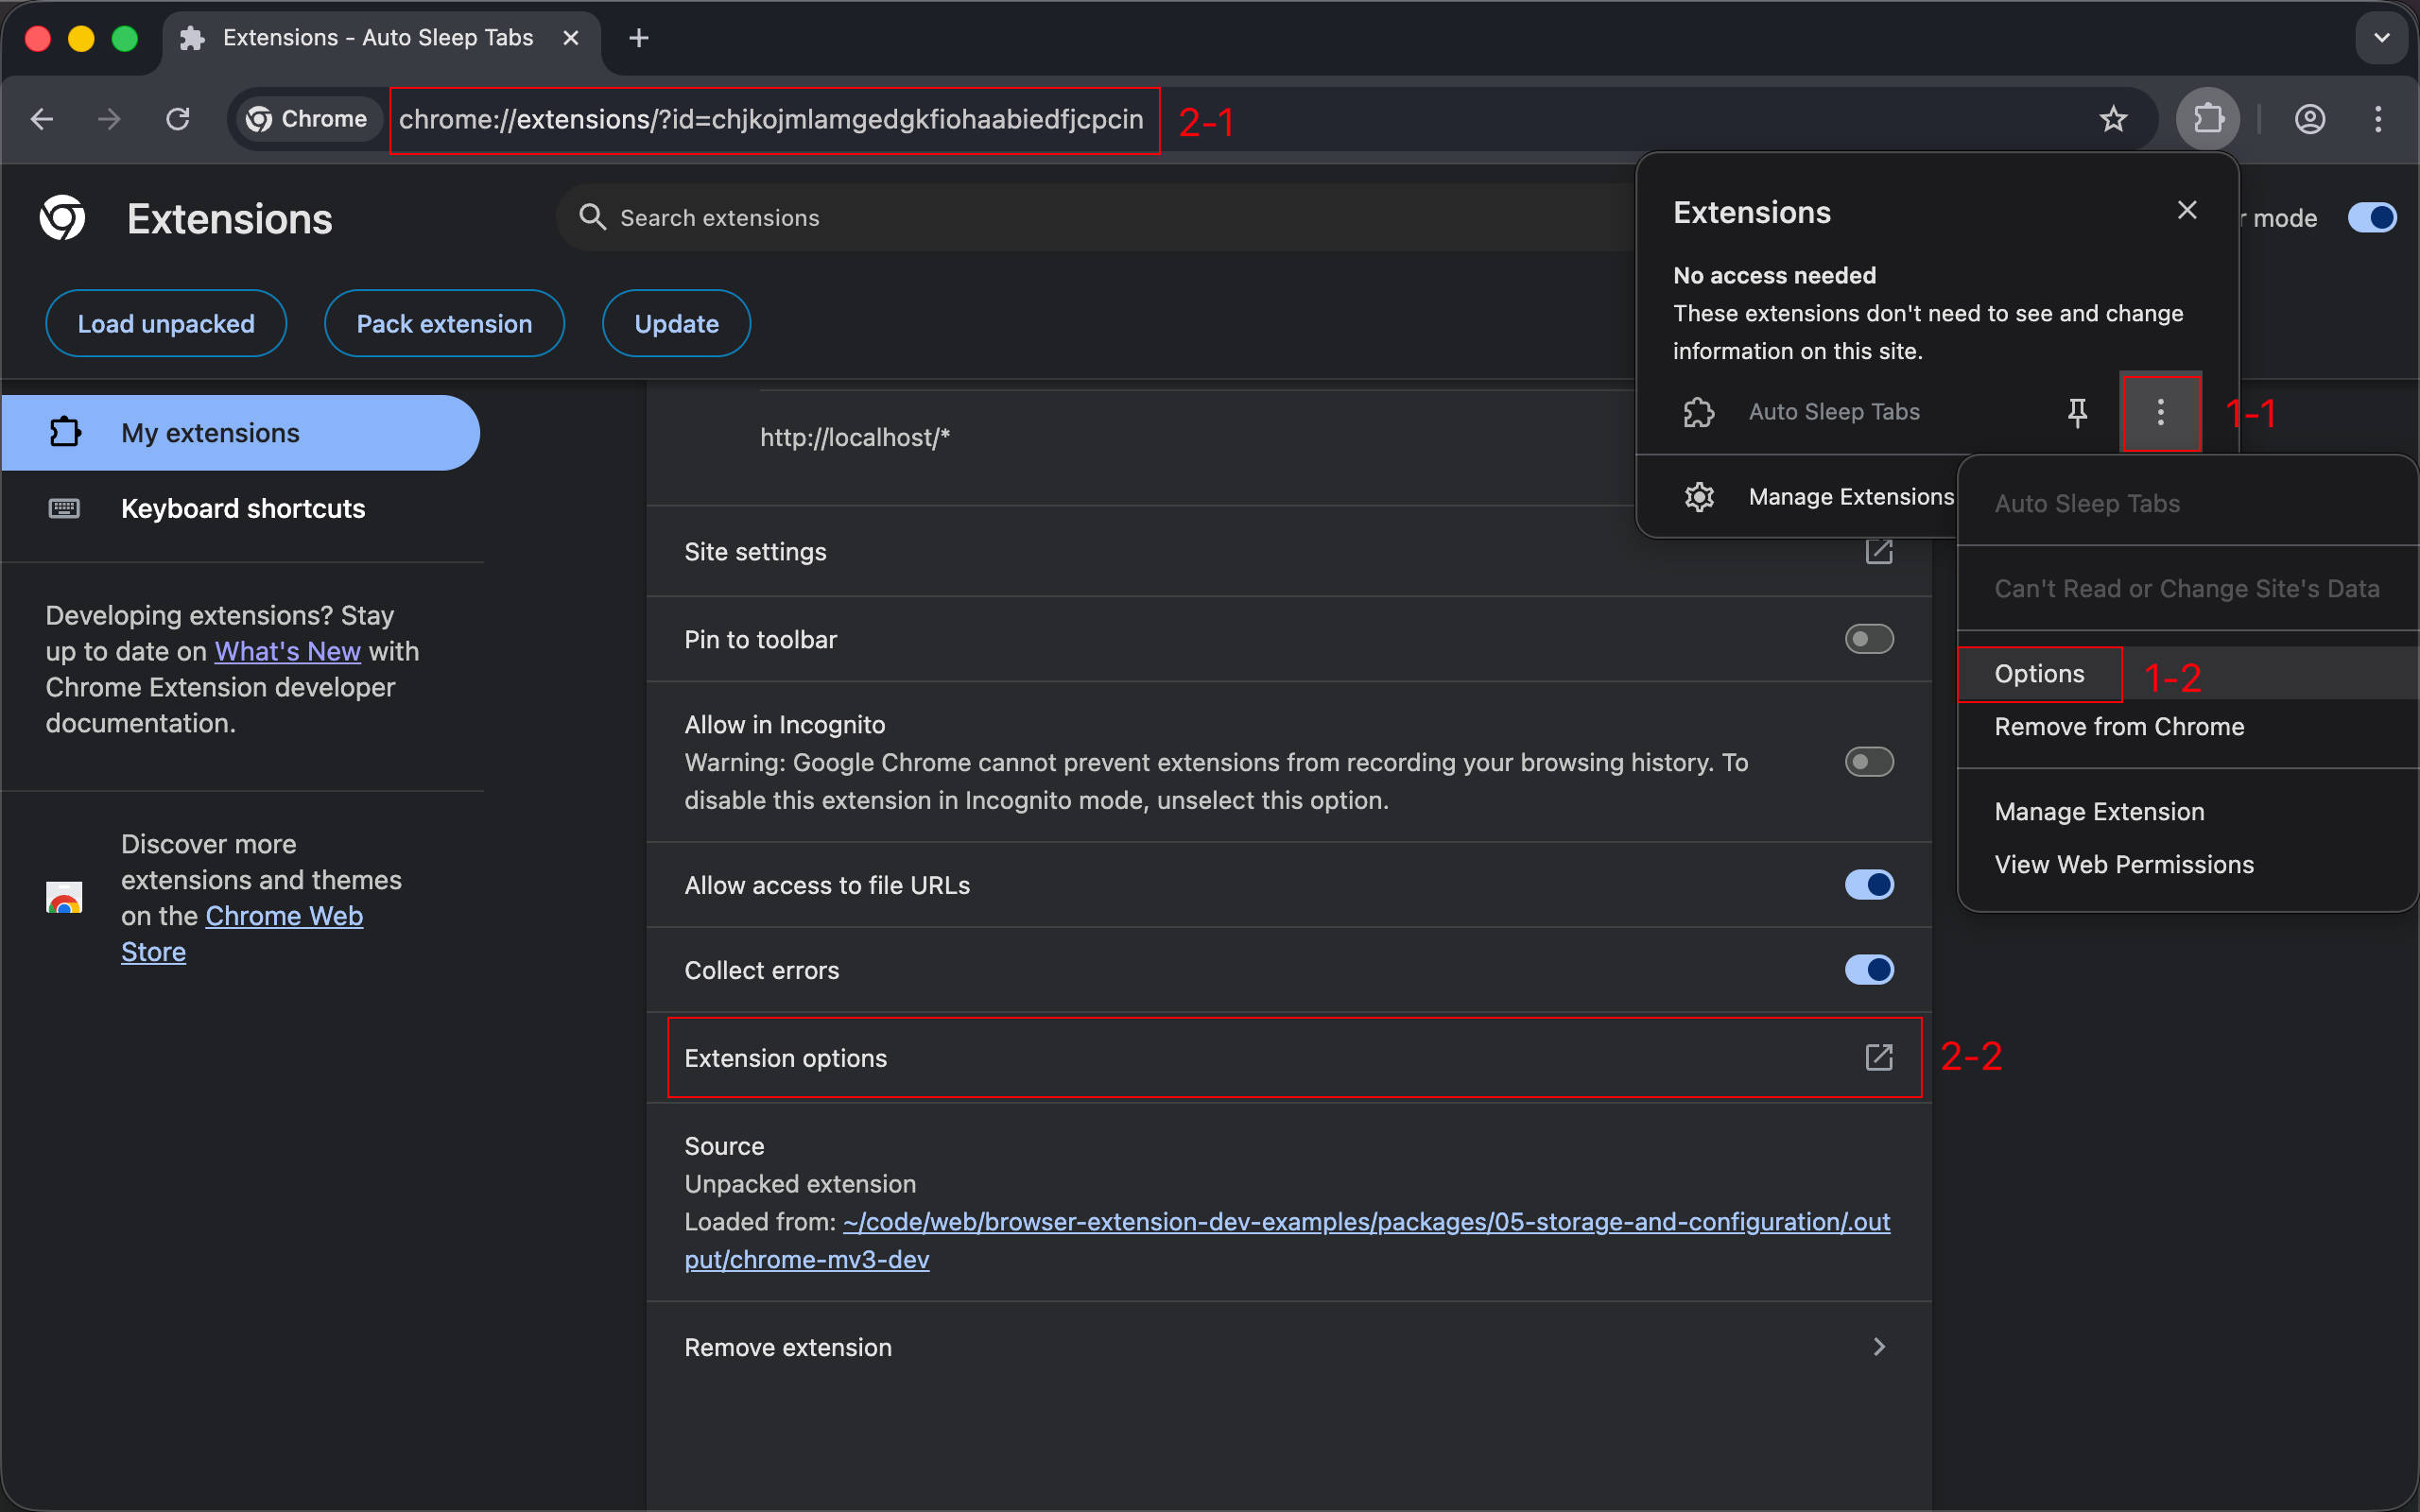
参考 Chrome 官方文档: https://developer.chrome.com/docs/extensions/develop/ui/options-page
实现
基础配置页面
在 WXT 中,需要在 entrypoints 目录下添加 options.html 或者 options/index.html 文件。
1
2
3
4
5
6
7
8
9
10
11
12
13
14
15
16
17
18
19
20
21
|
<!doctype html>
<html lang="en">
<head>
<meta charset="UTF-8" />
<meta name="viewport" content="width=device-width, initial-scale=1.0" />
<title>Options</title>
</head>
<body>
<div>
<label for="autoSleepInterval">Auto Sleep Interval (minutes):</label>
<input
type="number"
id="autoSleepInterval"
name="autoSleepInterval"
min="1"
value="30"
/>
</div>
</body>
</html>
|
WXT options entrypoint 文档: https://wxt.dev/guide/essentials/entrypoints.html#options
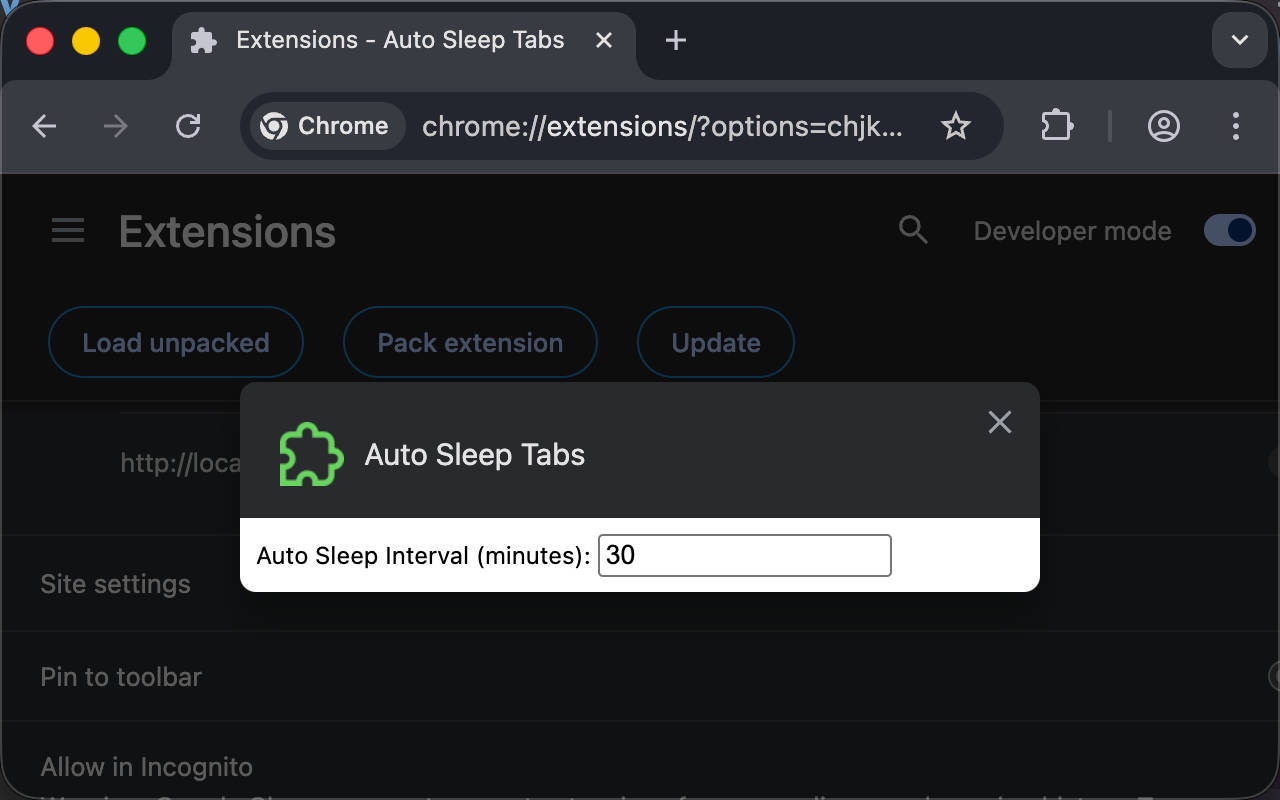
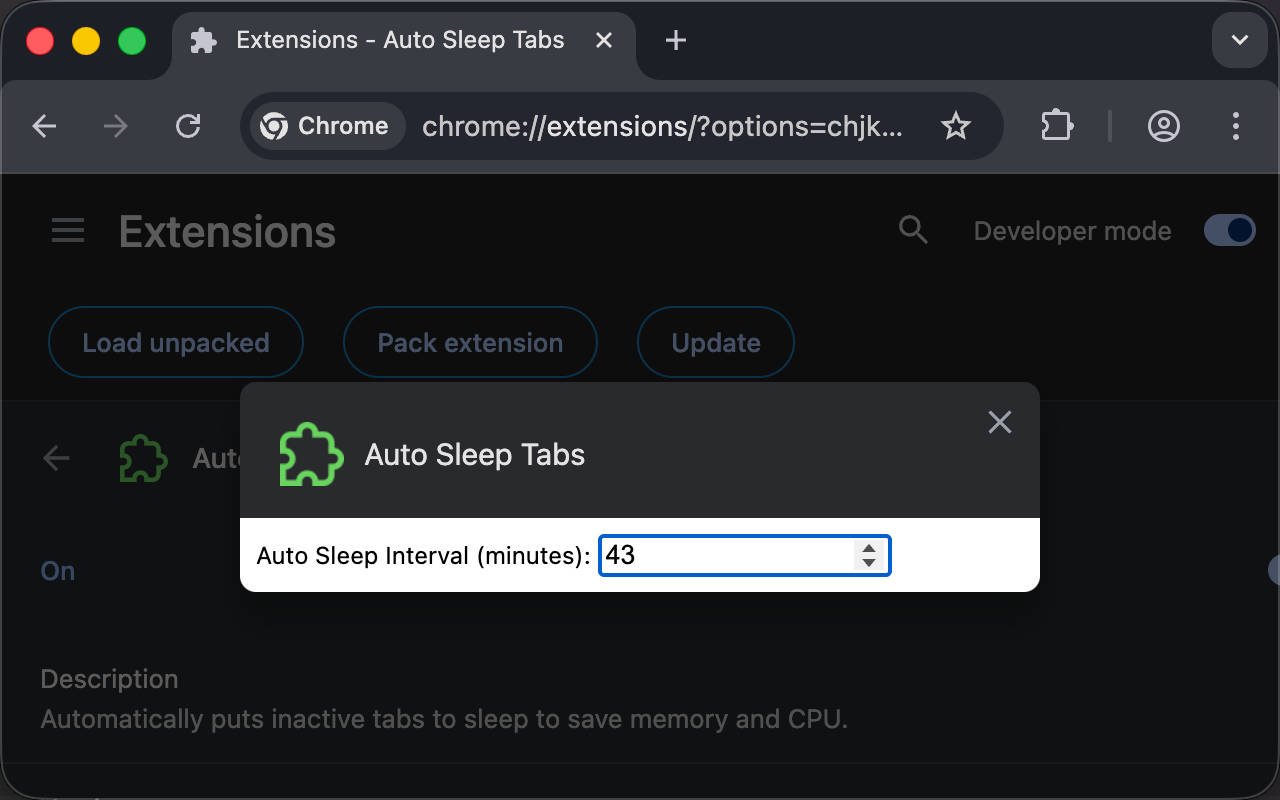
效果:
添加 storage 权限并实现持久化
创建 entrypoints/options/main.ts 并在 html 的 body 标签末尾引入。
1
| <script type="module" src="./main.ts"></script>
|
1
2
3
4
5
6
7
8
9
10
11
12
13
14
15
16
17
|
async function main() {
const input = document.querySelector<HTMLInputElement>('#autoSleepInterval')!
input.value =
(
await browser.storage.local.get<{ autoSleepInterval?: number }>(
'autoSleepInterval',
)
).autoSleepInterval?.toString() ?? '30'
input.addEventListener('input', async (ev) => {
const value = (ev.target as HTMLInputElement).valueAsNumber
await browser.storage.local.set({ autoSleepInterval: value })
})
}
main()
|
打开配置页面测试,发现功能没有生效。右键打开开发者工具,在控制台中看到以下错误:
1
2
3
| Uncaught (in promise) TypeError: Cannot read properties of undefined (reading 'local')
at main (main.ts:3:3)
at main.ts:15:1
|
这是因为缺少 storage 权限。使用需要权限的 API 之前都必须先声明,修改 wxt.config.ts 添加权限:
1
2
3
4
5
6
7
8
9
10
11
12
13
14
| import { defineConfig } from 'wxt'
export default defineConfig({
manifestVersion: 3,
manifest: {
name: 'Auto Sleep Tabs',
description:
'Automatically puts inactive tabs to sleep to save memory and CPU.',
permissions: ['tabs', 'storage'],
},
webExt: {
disabled: true,
},
})
|
现在,修改页面中的 Auto Sleep Interval 选项的值之后,刷新页面,可以看到值已经被持久化了。
美化(tailwindcss)
不过,HTML 默认样式实在太丑了,让我们引入 tailwindcss 并添加一些样式。
安装依赖
1
| pnpm install tailwindcss @tailwindcss/vite
|
更新配置并添加 tailwindcss 插件。
1
2
3
4
5
6
7
8
9
10
11
12
13
14
15
16
17
18
| import { defineConfig } from 'wxt'
import tailwindcss from '@tailwindcss/vite'
export default defineConfig({
manifestVersion: 3,
manifest: {
name: 'Auto Sleep Tabs',
description:
'Automatically puts inactive tabs to sleep to save memory and CPU.',
permissions: ['tabs', 'storage'],
},
vite: () => ({
plugins: [tailwindcss()],
}),
webExt: {
disabled: true,
},
})
|
参考 https://tailwindcss.com/docs/installation/using-vite
然后在 html 中引入 tailwindcss 美化一下。
1
2
3
4
5
6
7
8
9
10
11
12
13
14
15
16
17
18
19
20
21
22
23
24
25
26
27
28
29
| <!doctype html>
<html lang="en">
<head>
<meta charset="UTF-8" />
<meta name="viewport" content="width=device-width, initial-scale=1.0" />
<title>Options</title>
<style>
@import 'tailwindcss';
</style>
</head>
<body>
<div class="p-6">
<h1 class="text-xl font-semibold text-gray-800">Settings</h1>
<div class="space-x-4">
<label for="autoSleepInterval" class="text-gray-700">
Auto Sleep Interval (minutes):
</label>
<input
type="number"
id="autoSleepInterval"
name="autoSleepInterval"
min="1"
value="30"
class="w-24 px-3 py-2 border border-gray-300 rounded focus:outline-none focus:ring-2 focus:ring-blue-500"
/>
</div>
</div>
</body>
</html>
|
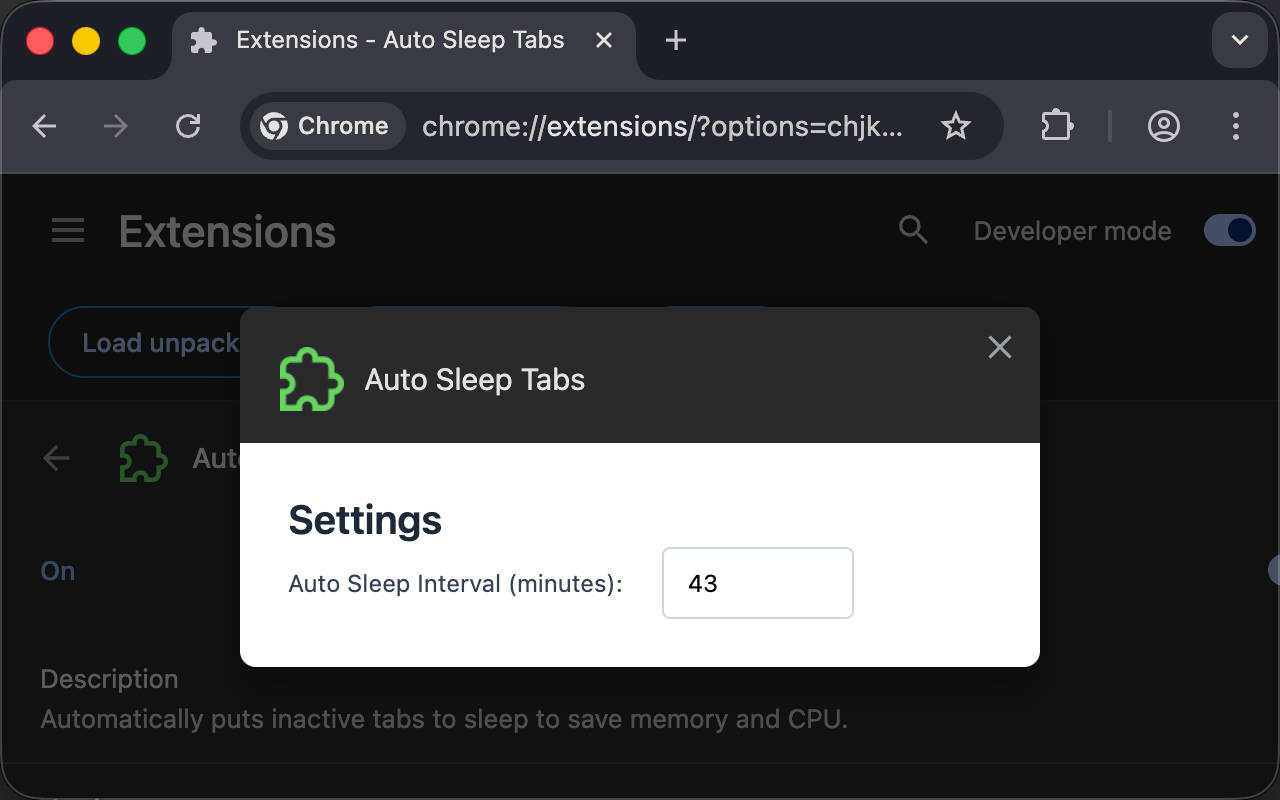
现在,我们可以看到效果至少好看了一点。
在 background 中读取配置
将硬编码的 Timeout 改为从 storage 读取:
1
2
3
4
5
6
7
8
9
|
const Timeout =
((
await browser.storage.local.get<{ autoSleepInterval?: number }>(
'autoSleepInterval',
)
).autoSleepInterval ?? 30) *
60 *
1000
|
如果需要在修改配置后立刻触发重新检测,还可以使用 storage.onChanged API,由于上面已经监听了标签页切换时自动触发检测,所以下面这段代码只做演示。
1
2
3
4
5
6
7
8
9
| browser.storage.onChanged.addListener((changes, areaName) => {
if (areaName === 'local' && changes.autoSleepInterval) {
console.log(
'autoSleepInterval changed to',
changes.autoSleepInterval.newValue,
)
autoDiscardTabs()
}
})
|
自定义 action 打开配置页面
目前为止,我们都使用 Chrome 默认的方法打开配置页面,例如上面提到的两种方法。但其实我们还可以将点击浏览器右上角的 action 图标绑定到打开配置页面的行为。
首先在 wxt.config.ts 的 manifest 中声明 action 选项,目前留空即可。
1
2
3
4
5
6
7
8
9
10
11
12
13
14
15
16
17
18
19
| import { defineConfig } from 'wxt'
import tailwindcss from '@tailwindcss/vite'
export default defineConfig({
manifestVersion: 3,
manifest: {
name: 'Auto Sleep Tabs',
description:
'Automatically puts inactive tabs to sleep to save memory and CPU.',
permissions: ['tabs', 'storage'],
action: {},
},
vite: () => ({
plugins: [tailwindcss()],
}),
webExt: {
disabled: true,
},
})
|
然后在 background script 中监听 browser.action.onClicked 事件
1
2
3
| browser.action.onClicked.addListener(async () => {
await browser.runtime.openOptionsPage()
})
|
现在,只要点击 action 就能打开配置页面,更加方便快捷。
总结
在这一篇中,主要介绍了添加配置页面以及使用 storage API。在下一篇中,将介绍按需向网页注入脚本,也将是目前为止唯一一个在 Chrome Web Store 安装扩展时不会有任何警告信息的扩展。
如果有任何问题,欢迎加入 Discord 群组讨论。
https://discord.gg/VxbAqE7gj2
完整代码:https://github.com/rxliuli/browser-extension-dev-examples/tree/main/packages/05-storage-and-configuration