本文最后更新于:2025年1月15日 早上
动机
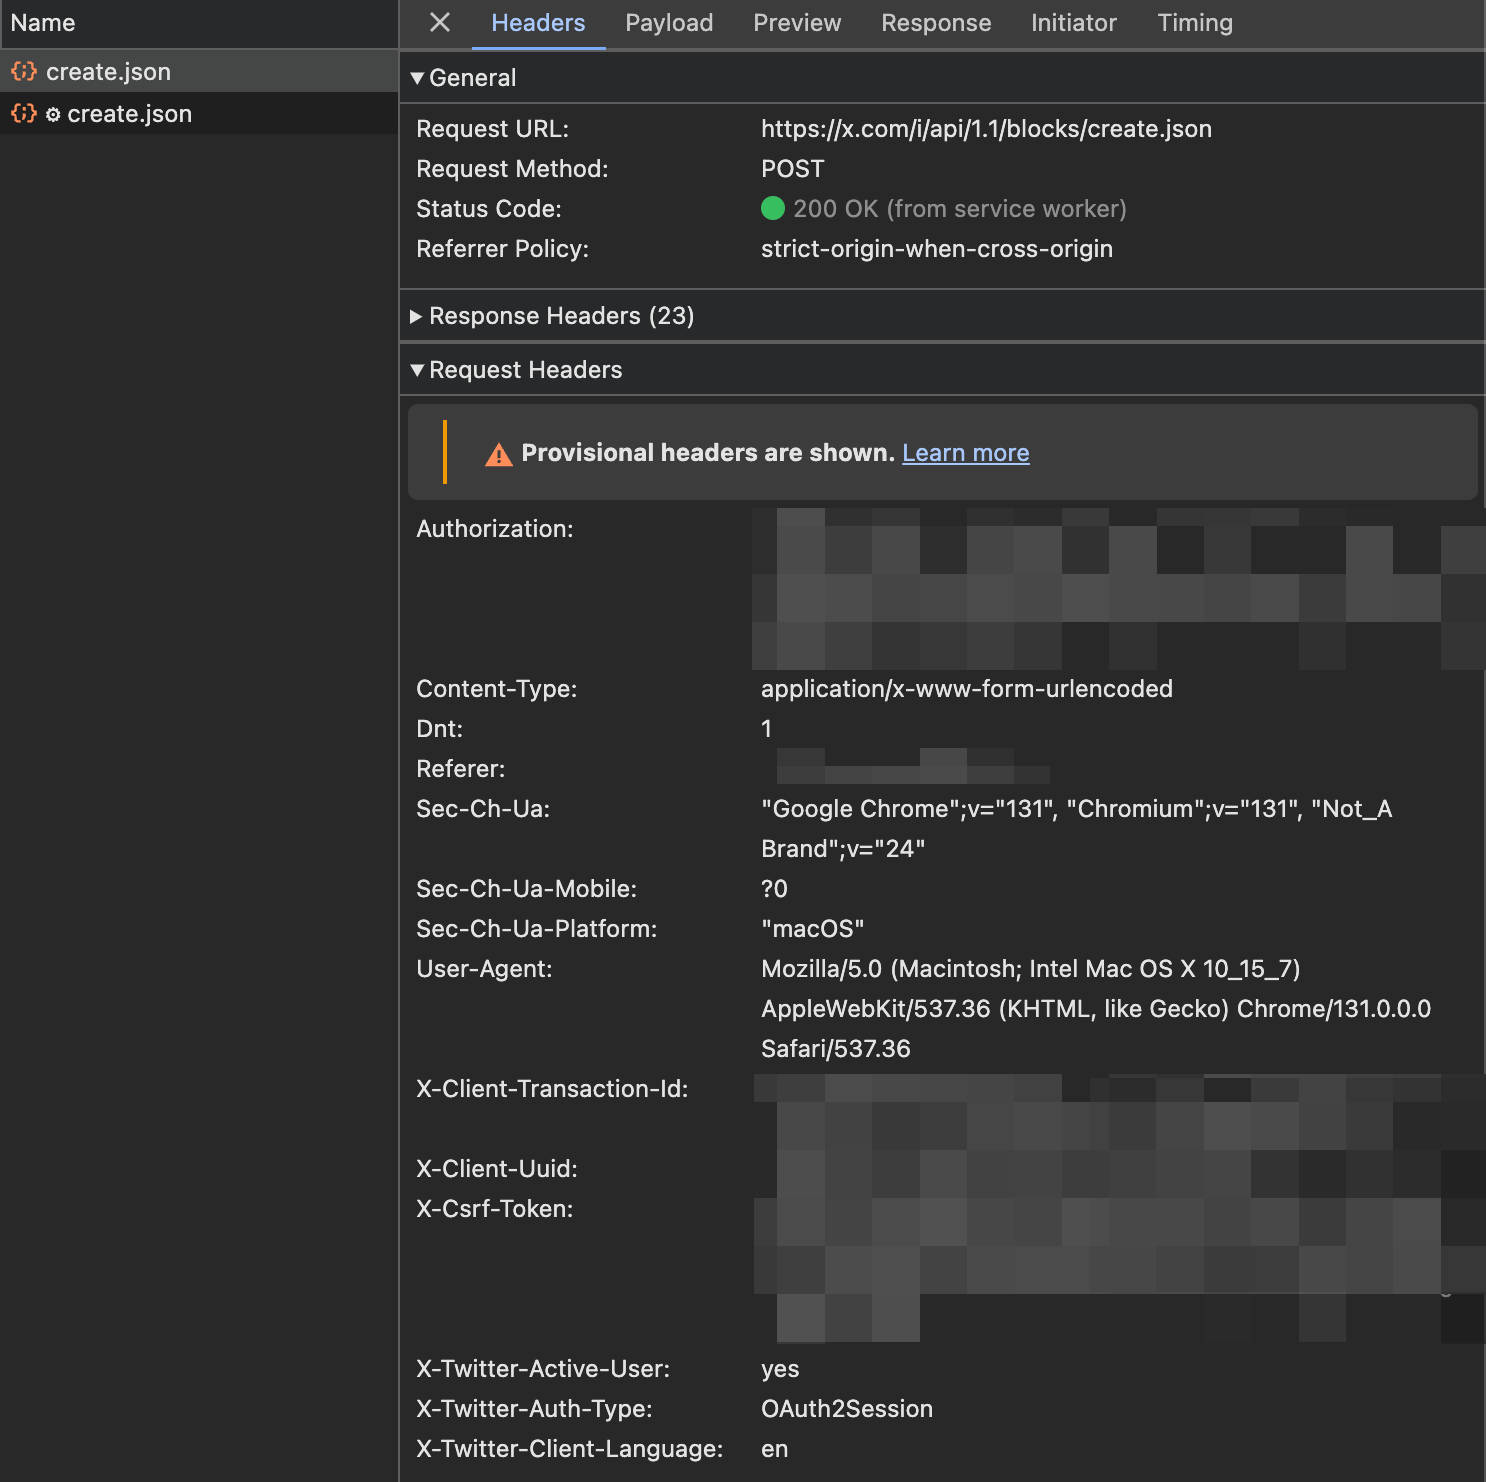
在实现 Chrome 插件 Mass Block Twitter 时,需要批量屏蔽 twitter spam 用户,而 twitter 的请求 header 包含的 auth 信息似乎是通过 js 动态生成的,所以考虑到与其检查 twitter 的 auth 信息是如何生成的,还不如拦截现有的网络请求,记录使用的所有 header,然后在调用 /i/api/1.1/blocks/create.json 接口时直接使用现成的 headers。因而出现了拦截 xhr 的需求,之前也遇到过需要拦截 fetch 请求的情况,而目前现有的库并不能满足需要。

已经调查的库包括
- mswjs: 一个 mock 库,可以拦截 xhr/fetch 请求,但是需要使用 service worker,而这对于 Chrome 插件的 Content Script 来说是不可能的。
- xhook: 一个拦截库,可以拦截 xhr 请求,但无法拦截 fetch 请求,而且最后一个版本是两年前,似乎不再有人维护了
因此,吾辈打算自己实现一个。
设计
首先,吾辈思考了自己的需求
- 拦截 fetch/xhr 请求
- 支持修改 request url 以实现代理请求
- 支持调用原始请求并修改 response
- 支持 response sse 流式响应
确定了需求之后吾辈开始尝试设计 API,由于之前使用过非常优秀的 Web 框架 hono,所以吾辈希望 API 能够尽可能的简单,就像 hono 的 Middleware 那样。
下面借用 hono 官方的 Middleware 的洋葱图

例如下面使用了两个 Middleware
1
2
3
4
5
6
7
8
9
10
11
| app
.use(async (c, next) => {
console.log('middleware 1 before')
await next()
console.log('middleware 1 after')
})
.use(async (c, next) => {
console.log('middleware 2 before')
await next()
console.log('middleware 2 after')
})
|
实际运行结果将会如下,因为最早注册的 Middleware 将在“洋葱”的最外层,在请求处理开始时最先执行,在请求完成后最后执行。
1
2
3
4
5
| middleware 1 before
middleware 2 before
middleware 2 after
middleware 1 after
|
实现
接下来就涉及到具体实现 fetch/xhr 的请求拦截了,这里不会给出完整的实现代码,而是更多给出实现思路,最后将会链接到实际的 GitHub 仓库。
fetch
首先说 fetch,它的拦截还是比较简单的,因为 fetch 本身只涉及到一个函数,而且输入与输出比较简单。
先看一个简单的 fetch 使用示例
1
2
3
| fetch('https://api.github.com/users/rxliuli')
.then((res) => res.json())
.then((data) => console.log(data))
|
基本思路就是重写 globalThis.fetch,然后使用自定的实现运行 middlewares,并在合适的时机调用原始的 fetch。
1
2
3
4
5
6
7
8
9
10
11
12
13
14
15
16
17
18
19
20
21
22
23
24
25
26
27
28
29
30
31
| function interceptFetch(...middlewares: Middleware[]) {
const pureFetch = globalThis.fetch
globalThis.fetch = async (input, init) => {
const c: Context = {
req: new Request(input, init),
res: new Response(),
type: 'fetch',
}
await handleRequest(c, [
...middlewares,
async (context) => {
context.res = await pureFetch(c.req)
},
])
return c.res
}
}
async function handleRequest(context: Context, middlewares: Middleware[]) {
const compose = (i: number): Promise<void> => {
if (i >= middlewares.length) {
return Promise.resolve()
}
return middlewares[i](context, () => compose(i + 1)) as Promise<void>
}
await compose(0)
}
|
现在,可以简单的拦截所有的 fetch 请求了。
1
2
3
4
5
6
7
8
9
10
11
12
13
14
15
16
17
18
19
20
21
22
23
24
25
26
27
| interceptFetch(
async (context, next) => {
console.log('fetch interceptor 1')
await next()
console.log('fetch interceptor 1 after')
},
async (context, next) => {
console.log('fetch interceptor 2')
await next()
console.log('fetch interceptor 2 after')
},
)
fetch('https://api.github.com/users/rxliuli')
  .then((res) => res.json())
  .then((data) => console.log(data))
|
有人可能会有疑问,这与 hono 的 Middleware API 也不一样啊?别着急,API 在最外层包一下就好了,先实现关键的请求拦截部分。
xhr
接下来是 xhr,它与 fetch 非常不同,先看一个简单的 xhr 使用示例
1
2
3
4
5
6
| const xhr = new XMLHttpRequest()
xhr.open('GET', 'https://api.github.com/users/rxliuli')
xhr.onload = () => {
console.log(xhr.responseText)
}
xhr.send()
|
可以看出,xhr 涉及到多个方法,例如 open/onload/send 等等,所以需要重写多个方法。而且由于 middlewares 只应该运行一次,而 xhr 的 method/url 与 body 是分步传递的,所以在实际调用 send 之前,都不能调用原始 xhr 的方法。
1
2
3
4
5
6
7
8
9
10
11
12
13
14
15
16
17
18
19
20
21
22
23
24
25
26
27
28
29
30
31
32
33
34
35
36
37
38
39
40
41
42
43
44
45
46
47
48
49
| function interceptXhr(...middlewares: Middleware[]) {
const PureXhr = XMLHttpRequest
XMLHttpRequest = class extends PureXhr {
#method: string = ''
#url: string | URL = ''
#body?: Document | XMLHttpRequestBodyInit | null
open(method: string, url: string) {
this.#method = method
this.#url = url
}
#listeners: [
string,
(this: XMLHttpRequest, ev: ProgressEvent) => any,
boolean,
][] = []
set onload(callback: (this: XMLHttpRequest, ev: ProgressEvent) => any) {
this.#listeners.push(['load', callback, false])
}
async send(body?: Document | XMLHttpRequestBodyInit | null) {
this.#body = body
const c: Context = {
req: new Request(this.#url, {
method: this.#method,
body: this.#body as any,
}),
res: new Response(),
type: 'xhr',
}
this.#listeners.forEach(([type, listener, once]) => {
super.addEventListener.apply(this, [type, listener as any, once])
})
await handleRequest(c, [
...middlewares,
async (c) => {
super.addEventListener('load', () => {
c.res = new Response(this.responseText, { status: this.status })
})
super.send.apply(this, [c.req.body as any])
},
])
}
}
}
|
现在实现了一个非常基本的 xhr 拦截器,可以记录和修改 request 的 method/url/body,还能记录 response 的 status/body。
1
2
3
4
5
6
7
8
9
10
11
12
13
14
15
16
17
18
19
20
| interceptXhr(async (c, next) => {
console.log('method', c.req.method, 'url', c.req.url)
await next()
console.log('json', await c.res.clone().json())
})
const xhr = new XMLHttpRequest()
xhr.open('GET', 'https://api.github.com/users/rxliuli')
xhr.onload = () => {
  console.log(xhr.responseText)
}
xhr.send()
|
当然,目前 xhr 的实现还非常简陋,没有记录所有 onload/onerror/onreadystatechange 事件,也没有记录所有 header,更不能修改 response。但作为一个演示,整体的实现思路已经出来了。
更多
目前已经实现了完整的 fetch/xhr 拦截器,发布至 npm 上的 @rxliuli/vista 包中,欢迎使用。

